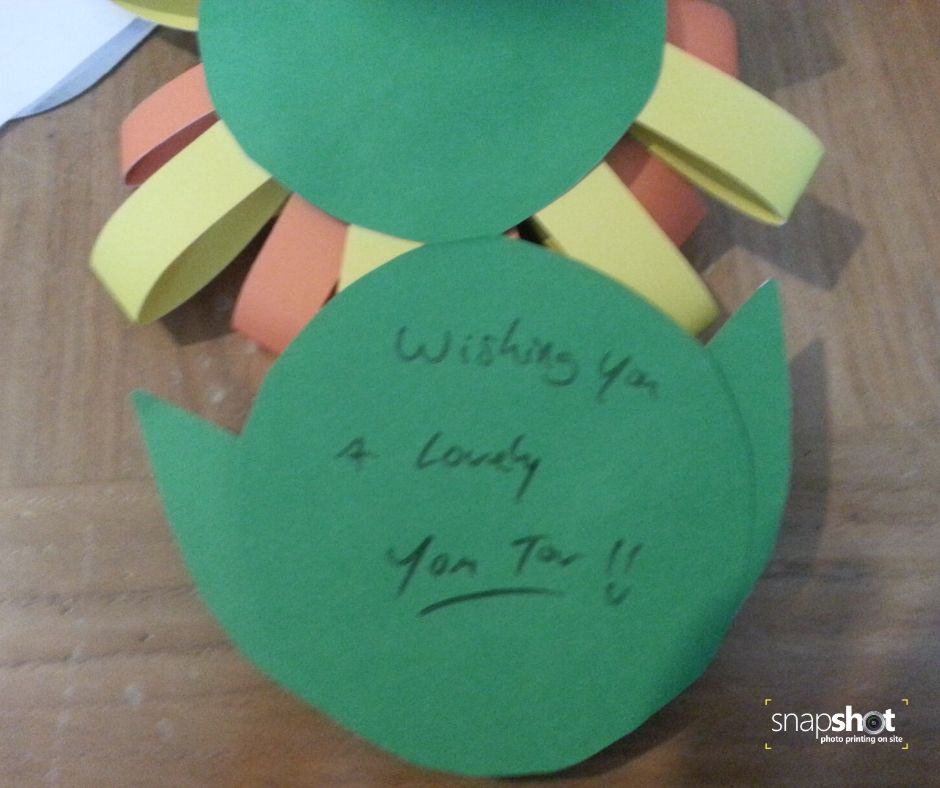
What you need
- Coloured card
- Glue stick / Pva glue
- scissors
- Photo
- Coloured pencils
Step 1
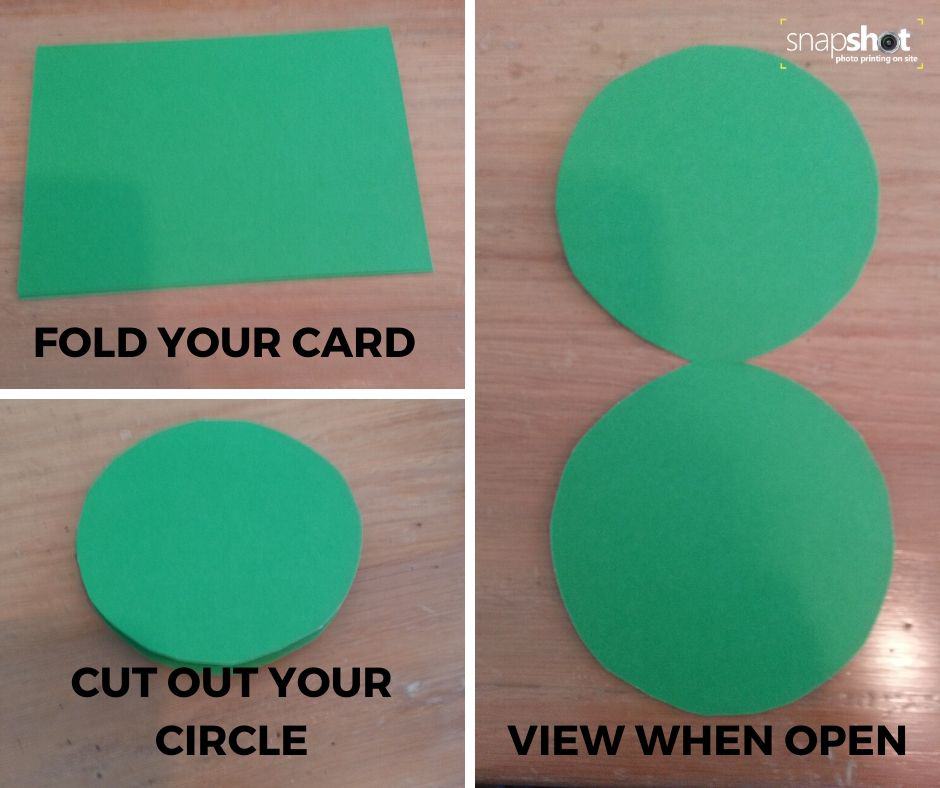
Fold a sheet of A4 card in half.
Draw a circle close to the folded edge, make show the circle overlaps the edge to give you the spine of the card.
Cut your circle out and open it. You now have the base of your flower card.
Step 2
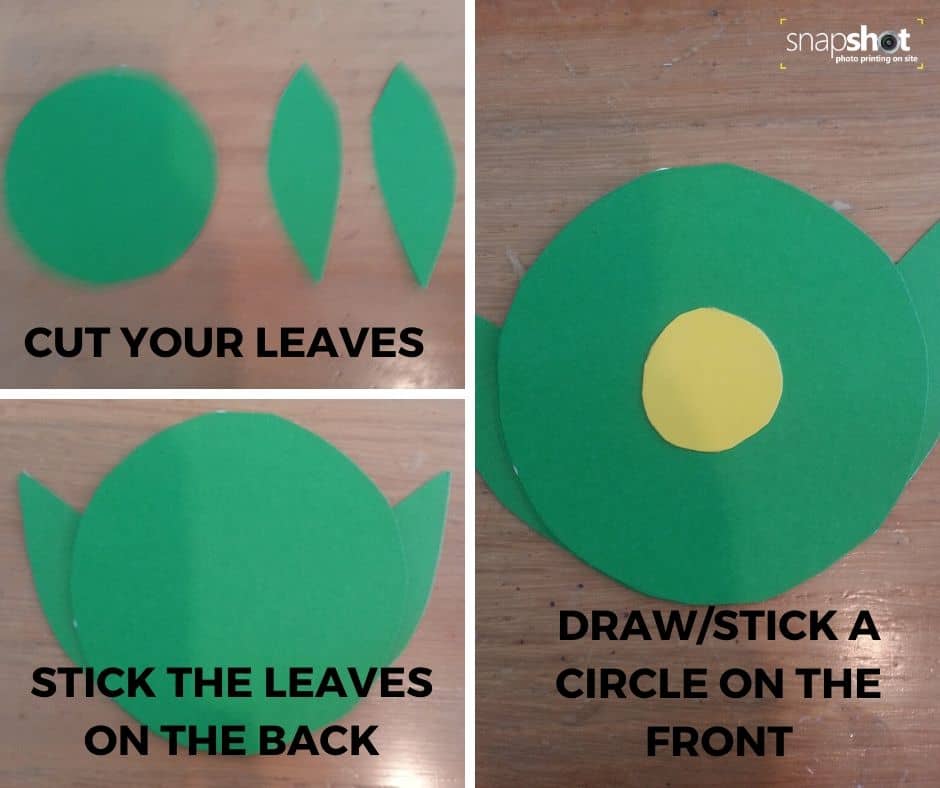
Draw and cut out your leaves from green card.
Stick these to to the sides of the card. This is now the back of your flower card.
Flip the card over and draw or stick a circle to the centre of the card.
Step 3
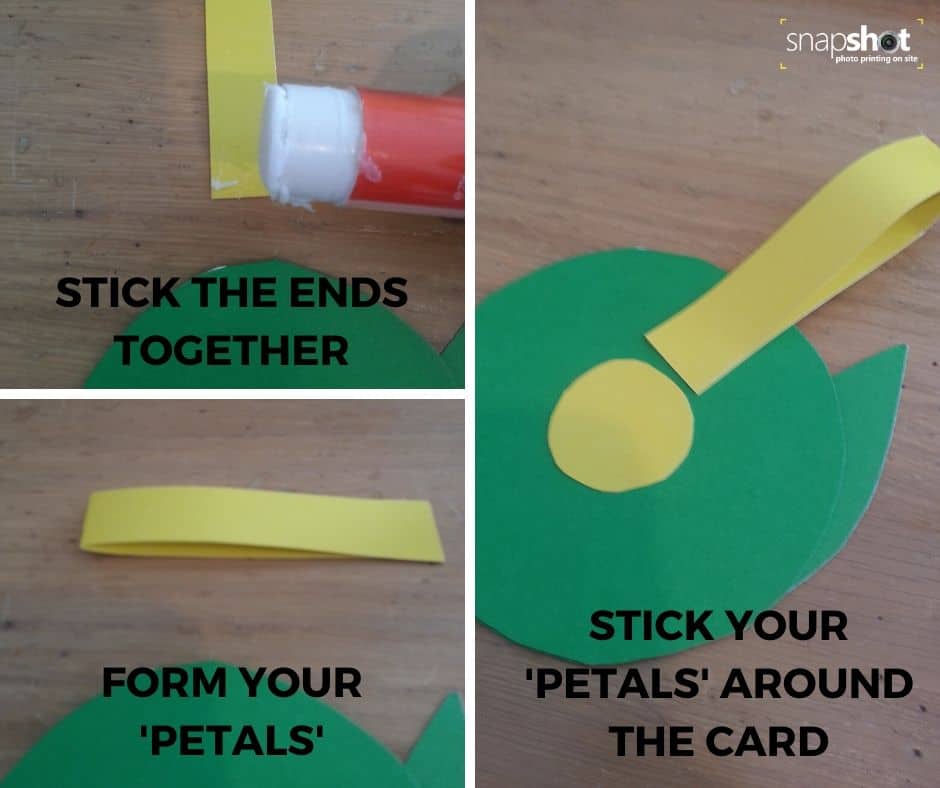
Cut narrow strips of card. You can use as many colours as you like but 2 seems to work best.
fold them in half (without creasing it) and glue the ends together.
Stick these around the circle you drew or stick to the front of your card.
Step 4
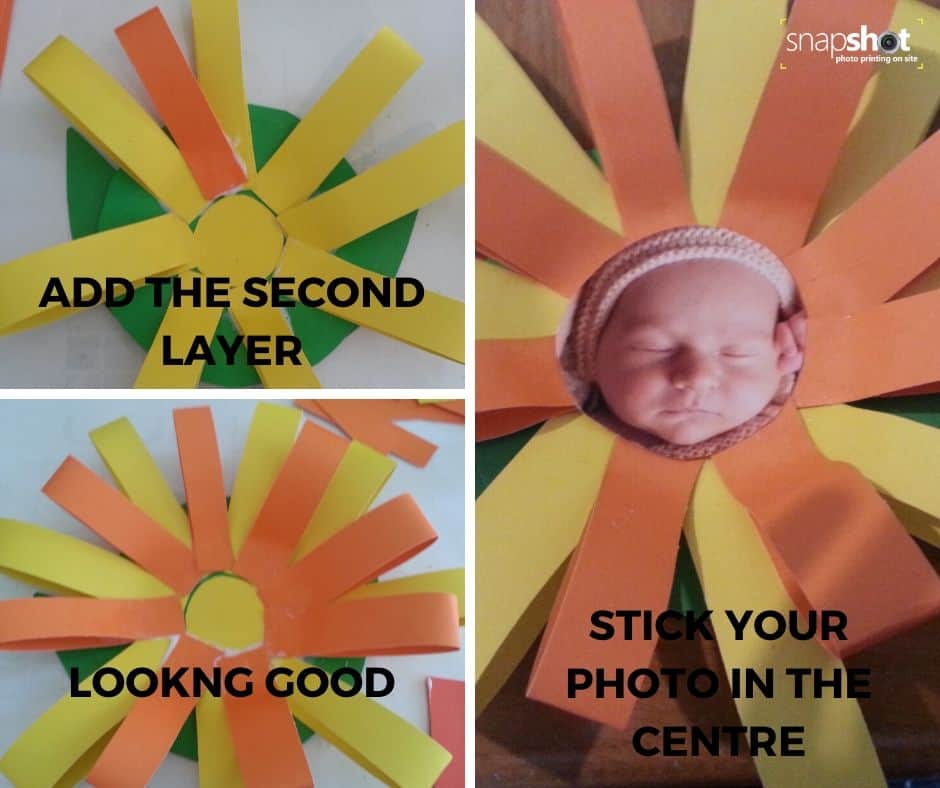
Once you’ve finished your first layer, you can start the next one by adding your petals so that they are between the ones on the lower layer.
Go all the way around to finish the petals of your flower card.
Take your photo and cut it onto a circle. Stick the photo in the centre,
Step 5
Use your coloured pencils to write your message.
YOUR flower CARD IS NOW READY.
If you liked this craft sign up to our emails for more ideas, updates and offers.
